- Export
- Custom statement · CSV
- Find it in
- Settings → Accounts → Statements
- Plan
- Every plan, including Free
- Each file
- Up to 4 MB and 2,000 rows
- Steps checked
- 22 October 2026, against the official help pages
- How well it's tested
- Parser available · not certified. See the record on the broker page
Export the file from Coinbase
Open Statements
Sign in to Coinbase on the web, click your profile icon, then Settings → Accounts → Statements. Use Statements, not the gain/loss report in Coinbase Taxes: that is a different file.
Set up a custom statement
In the custom statement area, set Asset to all assets, Transaction type to all transactions, and Date to the whole period you want.
We couldn't confirm this step's labels on Coinbase's own help pages. If your screen differs, tell us and we'll correct this guide.
Generate the CSV
Choose CSV as the format, not PDF or HTML, and select Generate. Save the file when it is ready. Leave the lines above its column headings in: Leaf Edge skips them itself.
We couldn't confirm this step's labels on Coinbase's own help pages. If your screen differs, tell us and we'll correct this guide.
Import it into Leaf Edge
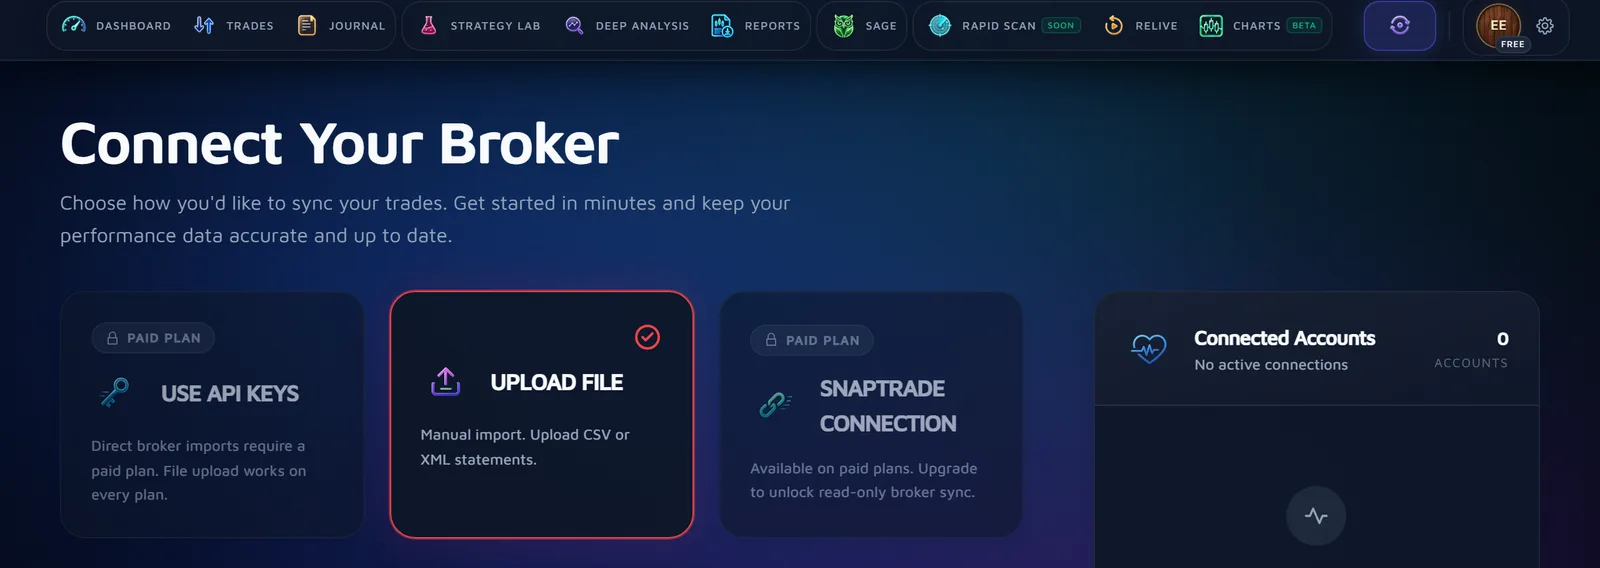
Open Upload File in Leaf Edge
Sign in to Leaf Edge and open Sync in the top bar. Choose Upload File. File import works on every plan, including Free.
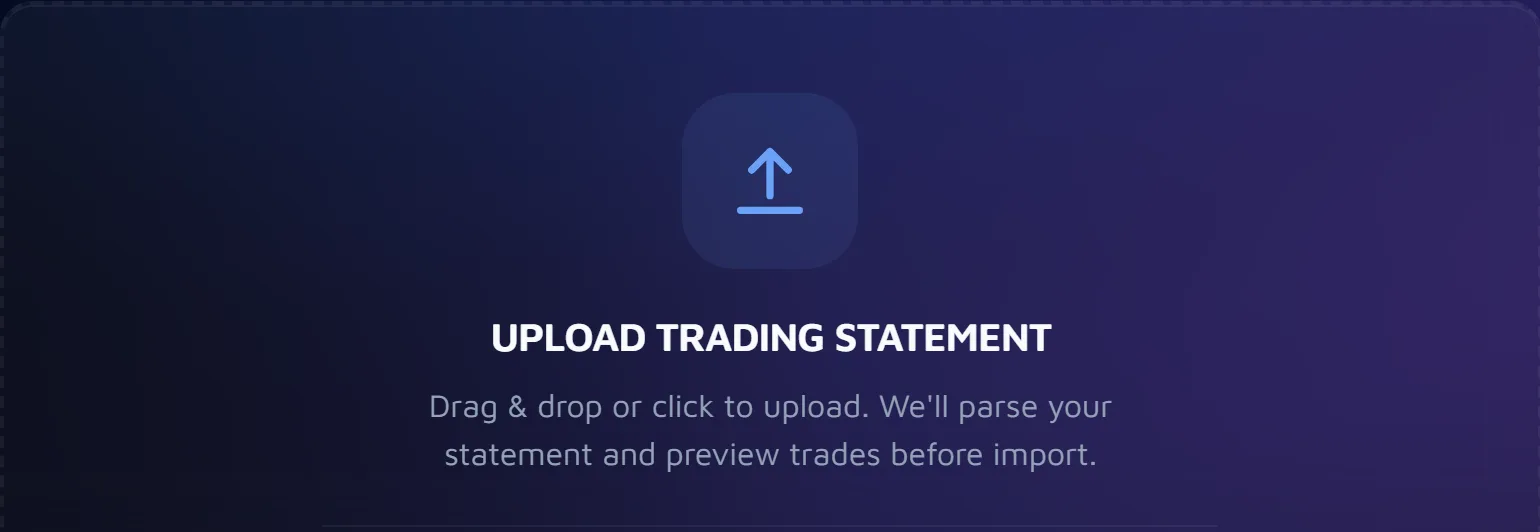
Drop the file in
Drag the file onto Upload Trading Statement, or click the box to choose it. Leaf Edge recognises an export from Coinbase by what is inside it, so there is nothing to pick first. Each file can be up to 4 MB and 2,000 rows.
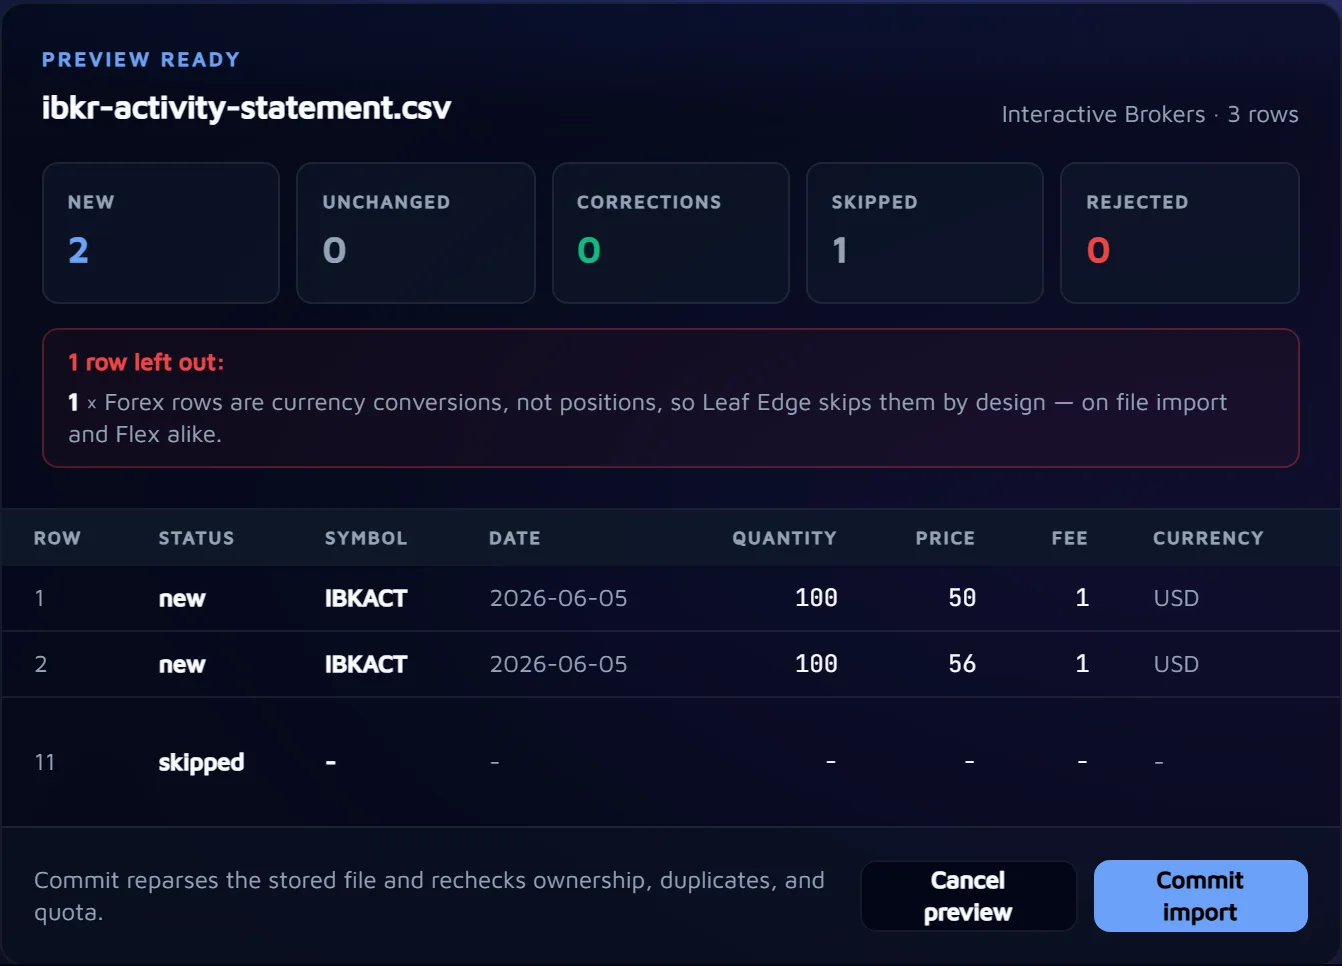
Check the preview
Nothing is saved yet. Review Import counts the rows as New, Unchanged, Corrections, Skipped and Rejected, and lists each row with its reason. Read every skipped and rejected row before you go on.
Convert, send, receive and staking rows aren't trades, so Leaf Edge leaves them out.
If the file holds trades in a currency your journal doesn't have yet, the preview says so. They keep their own currency, and your P&L is shown in the one currency you pick from the filter bar, converted at the European Central Bank's reference rate on the day each trade closed.
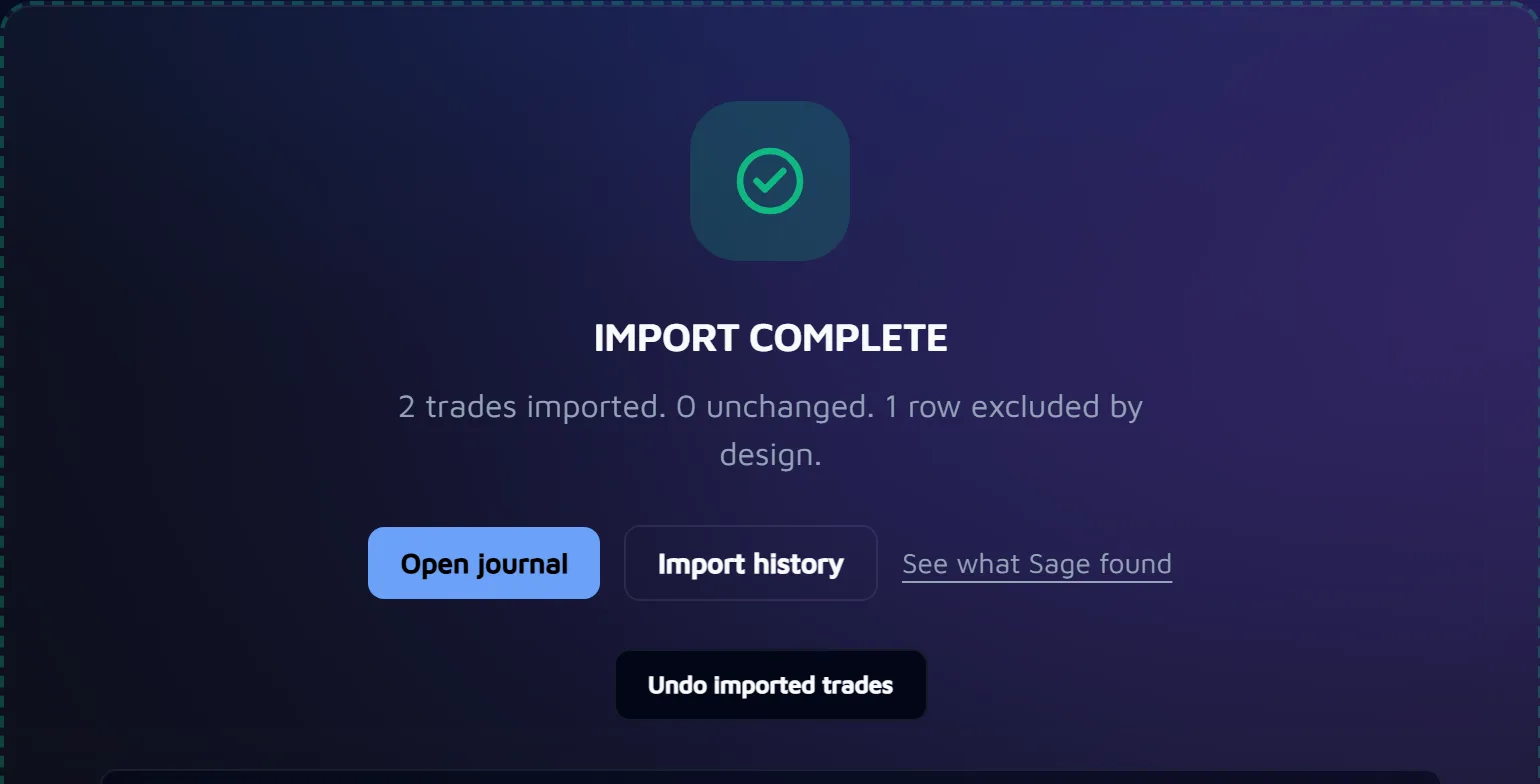
Commit the import
Press Commit import to save the trades, or Cancel preview to leave your journal as it was. Leaf Edge pairs the fills into round trips, so you will usually see fewer trades than the file has rows.
Changed your mind? Undo imported trades appears straight after an import, until your next upload and as long as you haven't started reviewing those trades.
In the Coinbase app
Open the main menu, then Account & settings → Statements, and set up the statement the same way.
What comes in
- Buys and sells, Advanced Trade fills included, priced in your account's currency: a UK account shows pairs such as BTC-GBP.
- Coinbase writes Advanced Trade prices in your account's currency, so a crypto-to-crypto trade such as ETH-BTC may come in priced in that currency rather than in BTC.
Where these steps come from
These steps come from the official help pages, read on 22 October 2026. We haven't followed them on a real Coinbase account yet. Menus move from time to time; if yours doesn't match, these pages have the current path:
- Coinbase: Accessing your account documents (opens in a new tab)
- Coinbase UK: Access your account documents (opens in a new tab)
- Coinbase: Download your tax report (opens in a new tab)
Sources read on 22 October 2026.
Next
Then review your first trade
Once your trades are in, each one has its own page: link it to a playbook or mark it as an honest skip, grade it, and note what you planned, what you did and what you learned. How a trade review works.