- Export
- Trades report · CSV
- Find it in
- Manage Account → Reports → Trades
- Plan
- Every plan, including Free
- Each file
- Up to 4 MB and 2,000 rows
- Steps checked
- 22 October 2026, against the official help pages
- How well it's tested
- Parser available · not certified. See the record on the broker page
Before you start
Choose YYYY-MM-DD as the date format when you export (step 3). With any other format, including Bitfinex's default, Leaf Edge finds no trades in the file.
Before you export
The file's times carry no time zone, and Leaf Edge reads them as UTC. Reports has a Timezone setting under Preferences; leave it on UTC, its default, or your trades land at the wrong time of day.
Export the file from Bitfinex
Open Reports
Sign in to Bitfinex and open Manage Account → Reports, or go to report.bitfinex.com.
Open Trades and pick the dates
Choose Trades in the left menu and set the Date Range to the period you want. Use Trades, not Orders: the Orders report keeps only the last two weeks.
Export with the YYYY-MM-DD date format
Press Export. In the window that opens, set Date Format to YYYY-MM-DD and confirm with Export.
Download the CSV from Bitfinex's email
Bitfinex emails the report as a CSV file to your account's address. Download it from the email. Don't open and save it again in a spreadsheet first: that can change the columns Leaf Edge reads.
Import it into Leaf Edge
Open Upload File in Leaf Edge
Sign in to Leaf Edge and open Sync in the top bar. Choose Upload File. File import works on every plan, including Free.
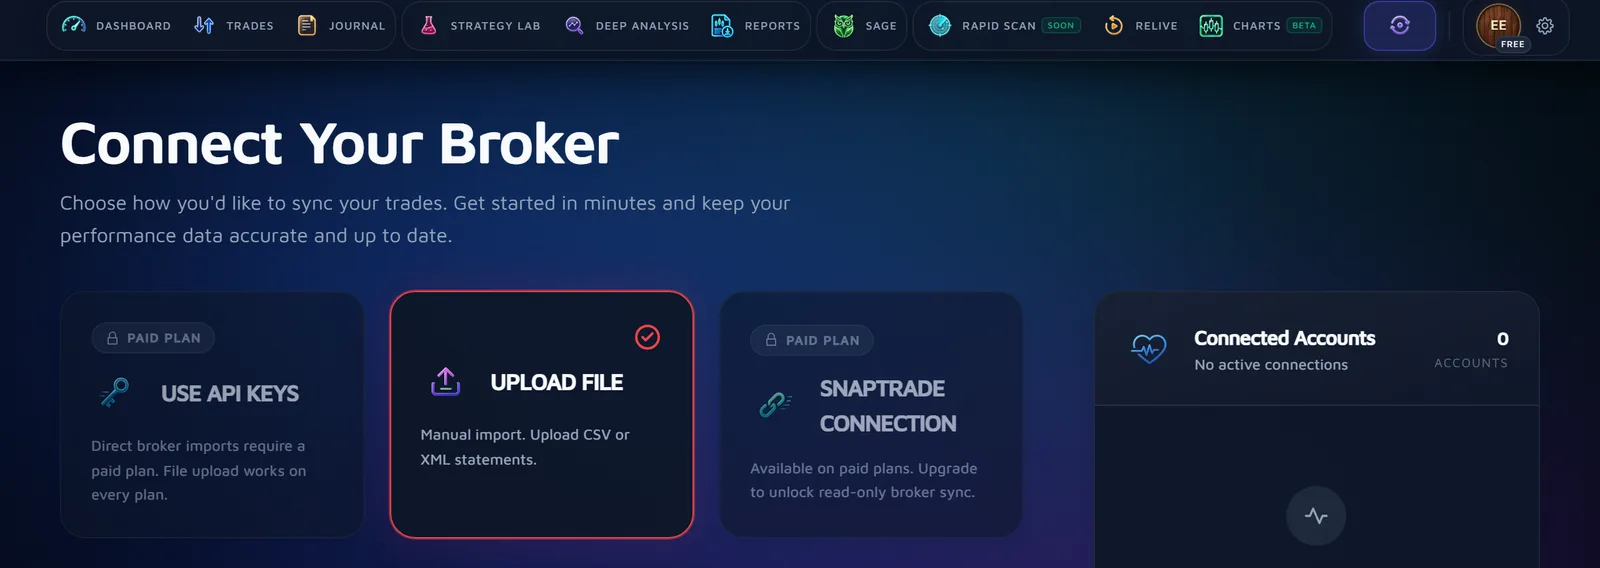
Drop the file in
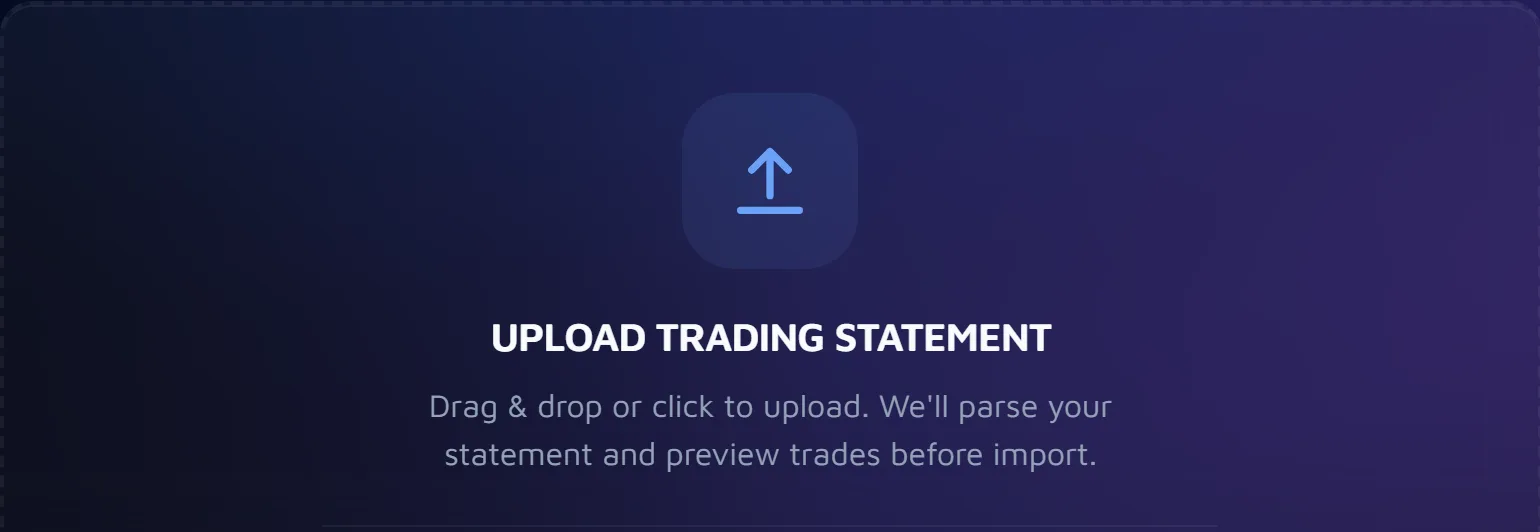
Drag the file onto Upload Trading Statement, or click the box to choose it. Leaf Edge recognises an export from Bitfinex by what is inside it, so there is nothing to pick first. Each file can be up to 4 MB and 2,000 rows.
Check the preview
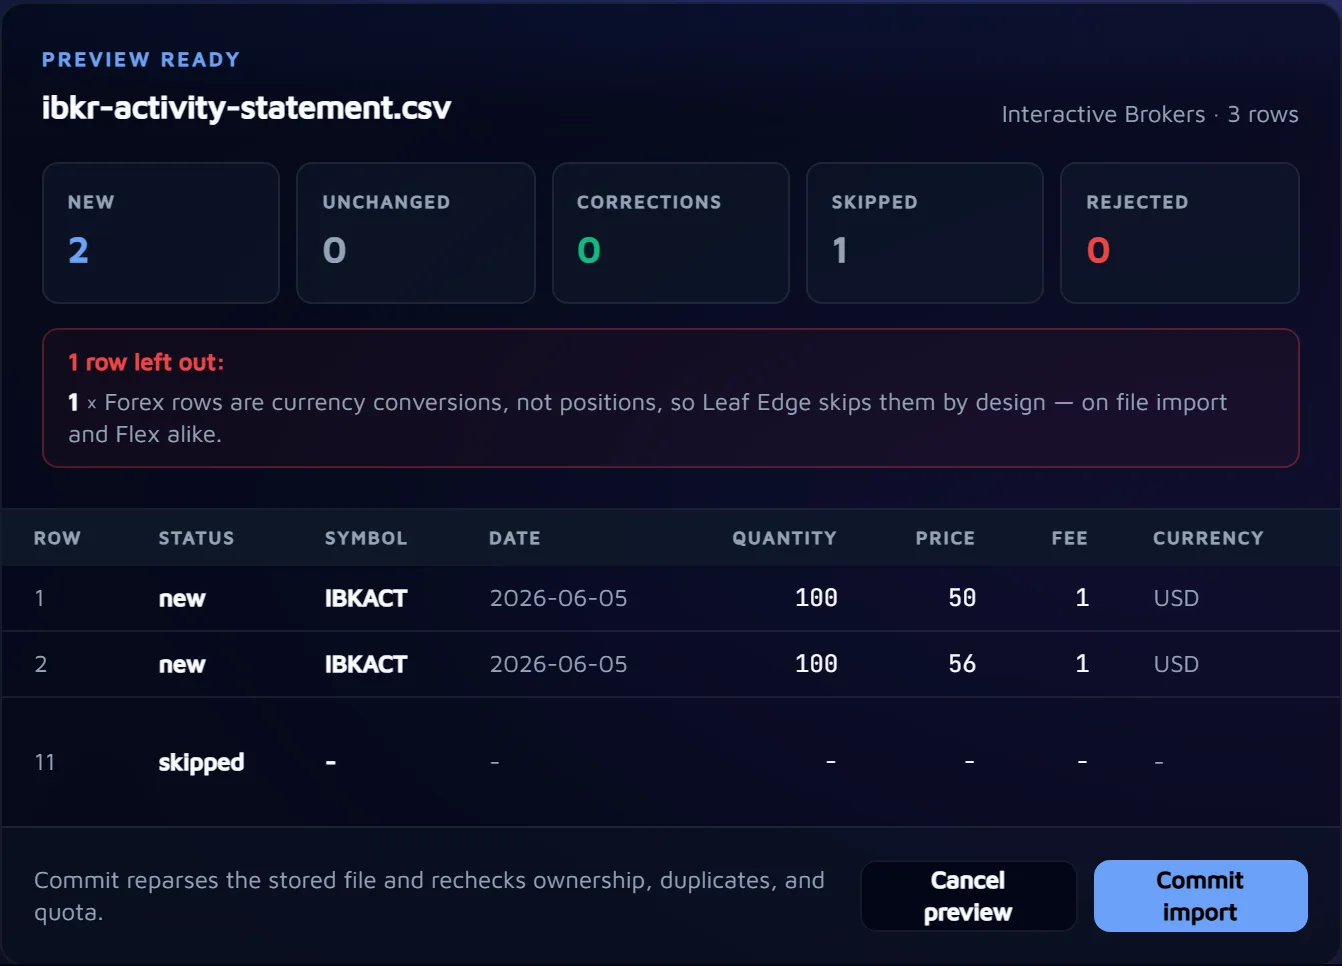
Nothing is saved yet. Review Import counts the rows as New, Unchanged, Corrections, Skipped and Rejected, and lists each row with its reason. Read every skipped and rejected row before you go on.
If the file holds trades in a currency your journal doesn't have yet, the preview says so. They keep their own currency, and your P&L is shown in the one currency you pick from the filter bar, converted at the European Central Bank's reference rate on the day each trade closed.
Commit the import
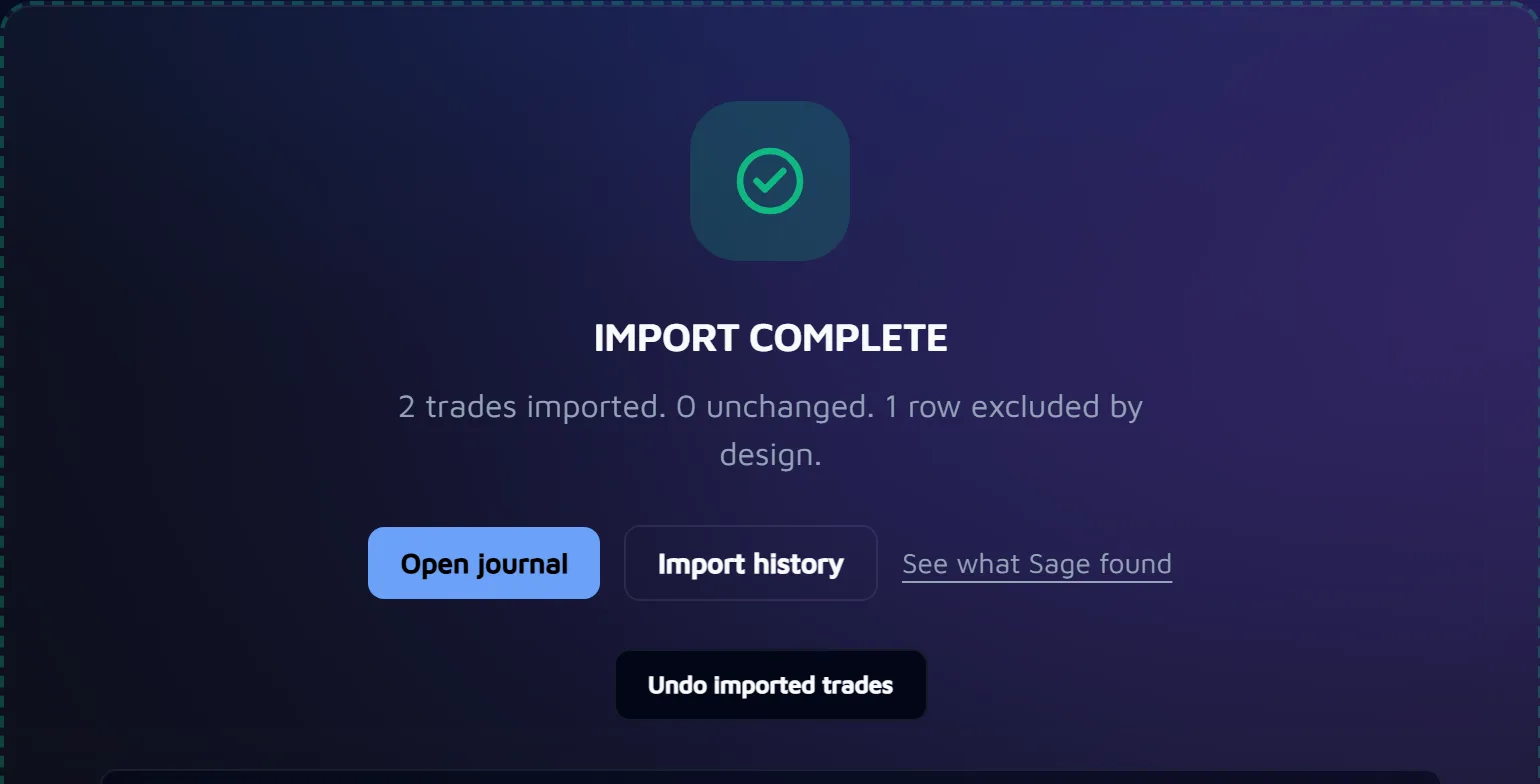
Press Commit import to save the trades, or Cancel preview to leave your journal as it was. Leaf Edge pairs the fills into round trips, so you will usually see fewer trades than the file has rows.
Changed your mind? Undo imported trades appears straight after an import, until your next upload and as long as you haven't started reviewing those trades.
What comes in
- Each trade, as a fill: buys and sells are told apart by the sign of the amount.
- The Trades report holds exchange, margin and derivatives trades together, and Leaf Edge reads every row as a spot crypto trade.
Where these steps come from
These steps come from the official help pages, read on 22 October 2026. We haven't followed them on a real Bitfinex account yet. Menus move from time to time; if yours doesn't match, these pages have the current path:
- Bitfinex: What are my Trades reports? (opens in a new tab) · updated 23 October 2023
- Bitfinex: What is a Bitfinex report? (opens in a new tab) · updated 9 November 2023
- Bitfinex: What are my Orders reports? (opens in a new tab) · updated 22 October 2024
Sources read on 22 October 2026.
Next
Then review your first trade
Once your trades are in, each one has its own page: link it to a playbook or mark it as an honest skip, grade it, and note what you planned, what you did and what you learned. How a trade review works.